KNative on Docker Desktop Link to heading
If you’ve been following my blog or videos, you’re likely aware of my affinity for deploying Spring Boot workloads to Raspberry Pi devices. You’ve probably also deduced that I have a certain fondness for Kubernetes and a strong penchant for keeping my resource usage very minimal. My love for minimalism isn’t just limited to my Raspberry Pi devices; it also extends to cleaning up cloud resources early and often, and scaling to zero with KNative Serving.
I’ve run KNative on K3s, a lightweight Kubernetes distribution, and Raspberry Pi for over a year now. This setup served as a reliable backbone for my homelab, without major issues. However, until recently, I hadn’t experimented with deploying KNative Serving to the Docker Desktop configured Kubernetes. I finally decided to take the leap, inspired by an outdated GitHub repository by Carlos Santana.
The whole process was incredibly straightforward, and I’m kicking myself for not doing it sooner. In the past, I bounced between different versions of Kubernetes on my daily driver, my laptop, and my new streaming server. Now, I think I’ve finally found a Kubernetes experience that I am content with, and one that conveniently scales my unused workloads to zero.
Here’s an outline of the process I followed to deploy KNative Serving on Kubernetes using Docker Desktop:
Install Docker Desktop: Docker Desktop provides a comprehensive Docker environment for your machine, simplifying management of Docker resources. You can download it directly from the official Docker website.
Enable Kubernetes cluster: After installing Docker Desktop, head over to the settings and enable the Kubernetes cluster. This single click initiates the Kubernetes functionality within Docker Desktop.
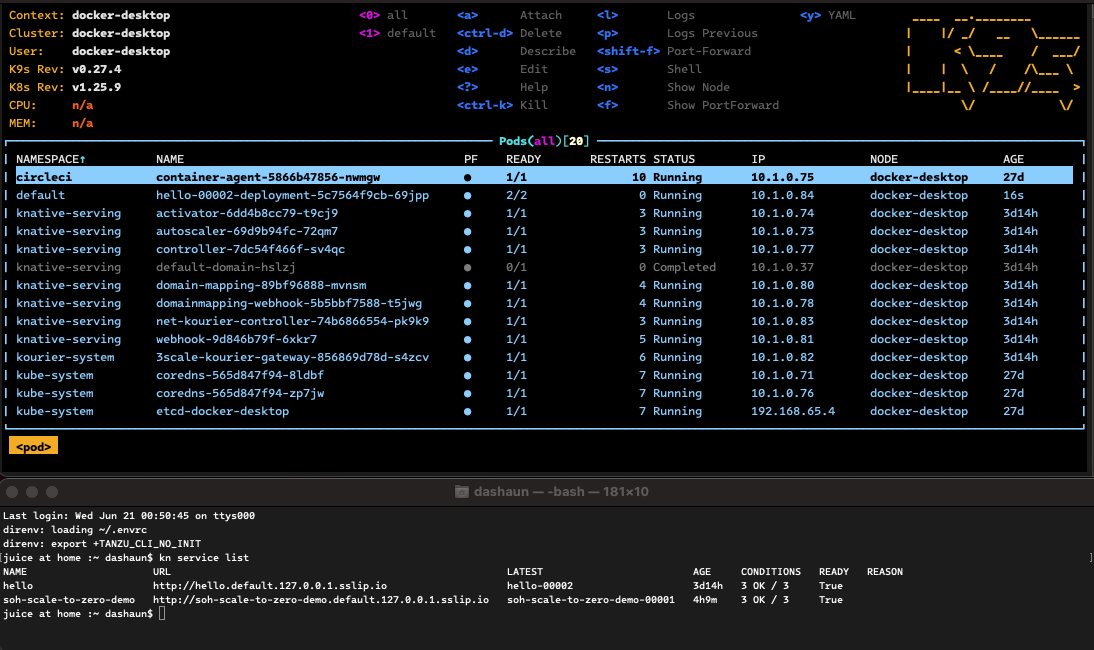
Install Knative with YAML: Finally, visit the official Knative website (knative.dev) and follow their instructions for installing Knative with YAML. I have been having the most success using Kourier for the network layer and the magic sslip.io DNS config. This is a quick and easy process, that is great for local development, so far.
This method is flexible and can be adjusted to fit your specific requirements. I’m running on an Intel based Mac Book Pro with only 16GB of memory, as well as a M1 Mac Studio with 32GB of memory. I’m still adjusting how I allocate system resources to Docker Desktop, for the different purposes.
I get a recent version of Kubernetes, configurable resource usage, and the ability to scale my workloads to zero. I’m very happy with this setup, so far.